Use Github Codespace
This topic contains instructions to use Github Dev Container and Github Codespace on the browser with a Rell starter project. These make it easy to write and execute Rell code without installing anything on your own computer.
What is GitHub Codespace?
GitHub Codespace is an online development environment that allows you to write, run, and debug your code directly in your web browser. Think of it as a pre-configured "computer in the cloud" tailored for coding. It eliminates the hassle of setting up your local development environment and ensures consistency across teams or projects.
Features
-
Browser-Based Coding
Write and edit your code directly in your browser using Visual Studio Code or its web version. -
Pre-configured Environments
Quickly spin up development environments with all necessary tools and dependencies already installed in a Dev Container. -
Customizable
Create custom configurations to match your project’s specific by tailoring your project’s devcontainer spec. -
Seamless Integration with GitHub
Work on your GitHub repositories instantly without needing to clone or set up anything manually. -
Access Anywhere
Work from any device with an internet connection—no need for a powerful local computer. -
Built-in Terminal
Access a terminal to run commands, just like on a regular computer. -
Extensions Support
Use Visual Studio Code extensions to enhance your productivity and development experience. -
Collaboration
Collaborate in real-time with teammates by sharing your Codespace or using GitHub's built-in collaboration tools. -
Cost Efficiency
Pay for only the time you use, making it an affordable option for occasional coding or testing.
Learn more about GitHub Codespaces.
Use of Chromia Dev Container via GitHub Codespace
One step way:
Multiple steps way:
-
Go to Chromia Hello World repository on GitHub.
-
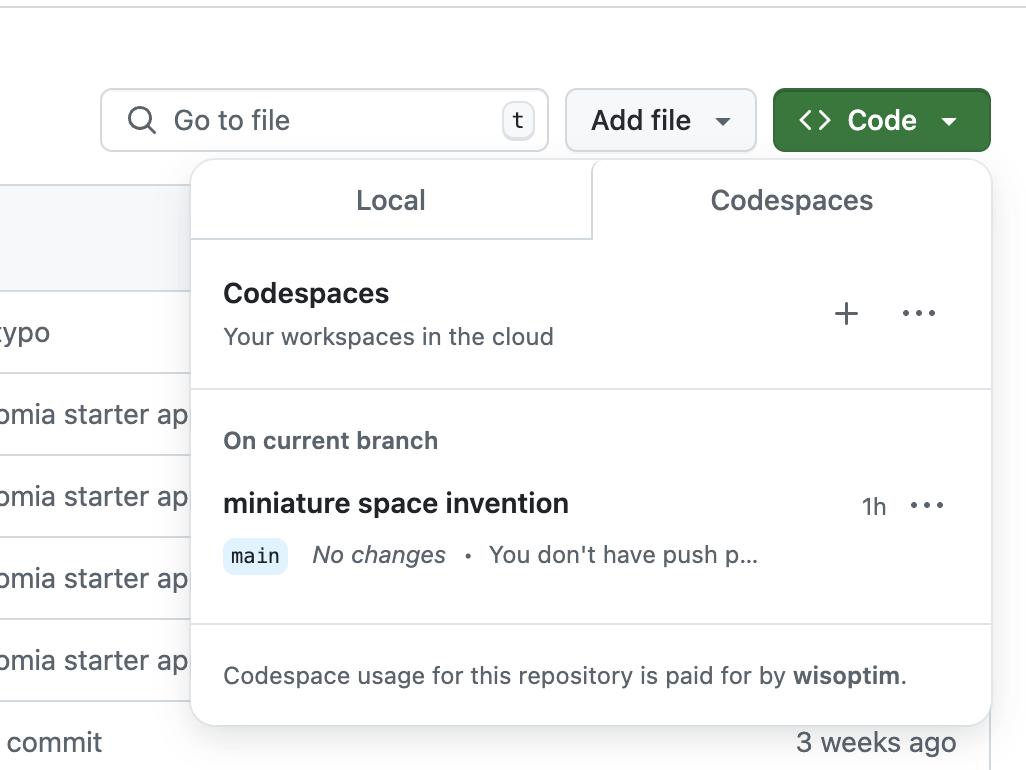
Click the green Code button then +
- Start Coding
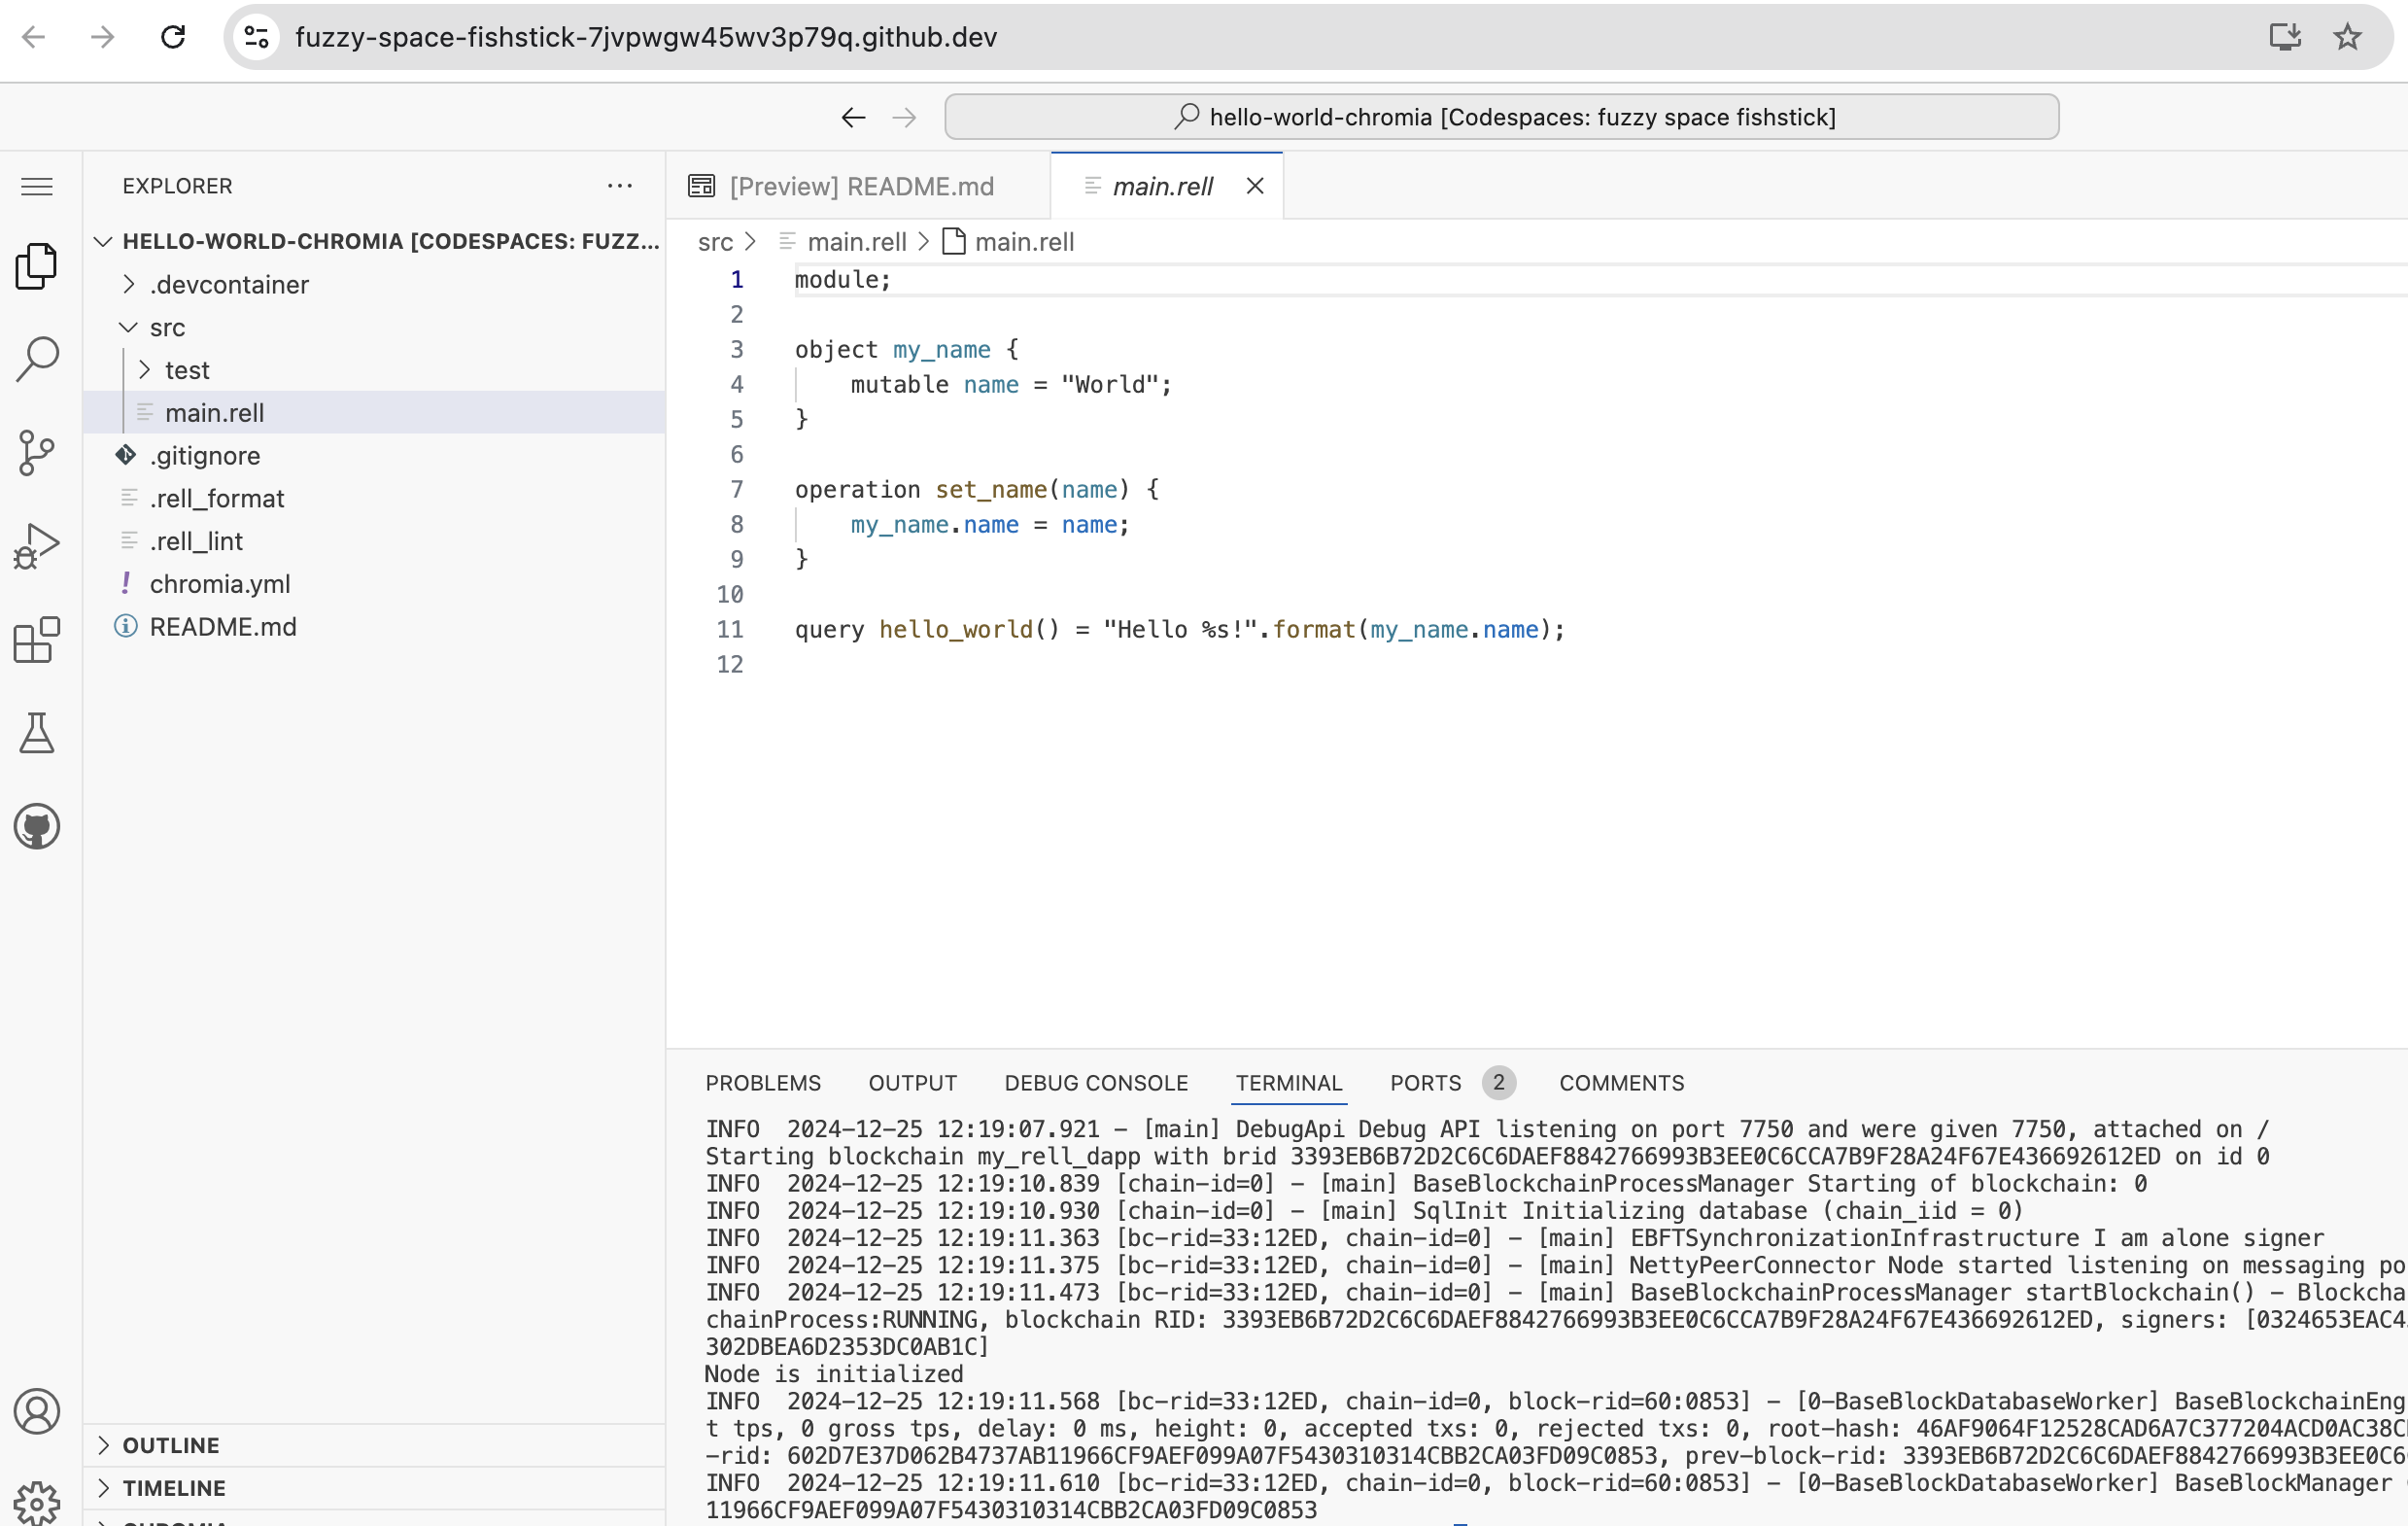
Once the Codespace is ready, it will open in the browser version of Visual Studio Code.
- Start interacting with the project via chr cli in the terminal. Required chr tools are preinstalled in the Dev Container.
Steps to create and configure Dev Container via GitHub Codespace
-
Sign in to GitHub
Make sure you’re signed in to your GitHub account at github.com. -
Navigate to the Repository
Go to the repository for which you want to create a Codespace. -
Open the Codespaces Tab
- On the repository page, click the Code button (green button).
- Select the Configure Dev Container tab from the dropdown.
- Use Dockerfile based configuration. Dockerfile is an image with Chromia tools installed.
- An example of the Dockerfile can be found here.
- An example of devcontainer.json.
- Click Commit changes and merge the pull request to the purpose branch.
- GitHub Codespaces automatically installs the environment specified in the repository’s
devcontainer.jsonfile (if it exists). - If no configuration file is present, it sets up a default development environment.
- The branch with configured Dev Container can be used for deploying your application.
- Once the Codespace is ready, it will open in the browser version of Visual Studio Code.
Steps to start the created Dev Container via a GitHub Codespace
Follow these steps to set up a GitHub Codespace for your project:
-
Sign in to GitHub
Make sure you’re signed in to your GitHub account at github.com. -
Navigate to the Repository
Go to the repository/branch for which you have created a Dev Container which has.devcontainerfolder. -
Open the Codespaces Tab
On the repository page, click the Code button (green button), select the Codespaces tab from the dropdown then +. -
Wait for Initialization
GitHub Codespaces automatically installs the environment specified in the repository’sdevcontainer.jsonfile (if it exists).
If no configuration file is present, it sets up a default development environment. -
Start Coding
Once the Codespace is ready, it will open in the browser version of Visual Studio Code.
You can also open it in your desktop version of VS Code if you prefer.
General Limitations:
- Resource Limits:
- CPU/Memory: While powerful, Codespaces have resource limits. Very demanding projects might exceed these limits, leading to performance issues.
- Storage: Limited storage space per user.
- Offline Access: Codespaces are cloud-based. Limited offline functionality.
- Customization: While flexible, customization options might have some constraints.
- Cost: Codespaces can incur costs, especially for larger or more resource-intensive projects.
- Dockerfile-Specific Limitations:
- Image Size: Large Docker images can significantly increase Codespace startup times and consume more resources.
- Complexity: Overly complex Dockerfiles can be harder to maintain and debug.
- Security: Improperly configured Dockerfiles can introduce security vulnerabilities.
- Compatibility: Not all Dockerfile instructions and features are fully supported within the Codespaces environment. Important Notes:
These limitations can vary based on your GitHub plan and the specific configuration of your Codespaces. Refer to the official GitHub Codespaces documentation for the most up-to-date and comprehensive information on limitations.

