Get a container for your dapp
In this topic, you'll go through the steps of getting a container for your dapp.
Prerequisites
Before you begin, ensure you have the following:
- Chromia CLI
- Project config file (
chromia.yml) - Your key pair (
privkeyandpubkey)
Step 1: Generate a key pair
Begin with generating a public and private key pair. Use the chr keygen --key-id=TEXT command to create key pair
(privkey and pubkey) files in the .chromia folder. You'll need the keys to lease a container and deploy your dapp.
If your TEXT string is myKey then the public key is stored as myKey.pubkey and private key as myKey. To use a
key pair by its key ID, set the property key.id = <key_id> in your Chromia configuration (.chromia/config) file. If
the config file does not exist, then you can create one in the .chromia folder.
- Windows:
C:\Users\<YourUsername>\.chromia\config - macOS and Linux:
/Users/<YourUsername>/.chromia/configor/home/<YourUsername>/.chromia/config
For more information, refer to the keygen command.
You can copy and share the public key, while the private key should always be kept secret.
Once you have your key pair, you must use Chroma (CHR) token to lease a container and deploy a dapp to the mainnet.
Step 2: Create a Chromia account
When you lease a container, you must pay the network in native CHR tokens. These fees are collected into a resource pool and distributed to network providers and stakeholders. You need a Chromia account to bridge CHR from Ethereum and Binance Chain to Chromia. A bridging interface is available in Chromia Vault, streamlining the process.
-
Navigate to the Staking page and click the Container lease link.
-
Connect your wallet by clicking the Connect wallet button.
Once you connect your wallet. Chromia checks whether you have a Chromia account and if it already has a lease connected to it. If you don't have an account, it asks you to sign up for a Chromia account.
-
Create your Chromia account by clicking the Create Chromia account button.
Next, you use the Chromia account to lease a container for your dapp.
Step 3: Lease container space
Chromia checks your account for any ongoing leases. If you don't have any existing lease, it asks you to lease a new container.
-
On the Container lease page, click the Lease a new container button.
-
Select your container cluster.
-
Next, you configure and lease container space by entering your public key, adjusting for SCUs, storage, and duration. You can also enable auto-renewal for the lease.
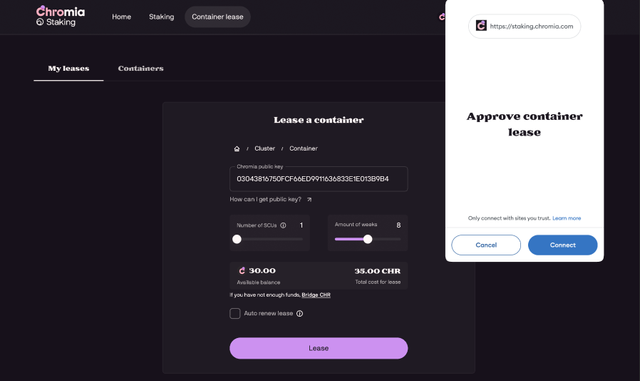
-
Follow the steps on the Container lease page to bridge CHR to your Chromia account.
-
Once you accept the total price for the given configuration, an FT4 payment is initiated for the given amount. Then, you are allocated the container lease.
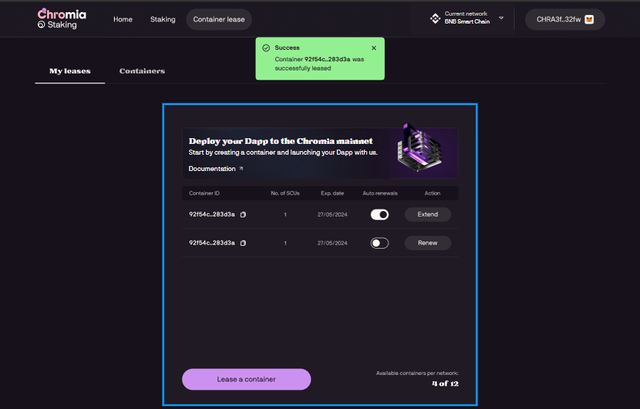
Once the process is complete, note down your Container ID, which will be used in the deployment process.
If the container lease process fails for some reason, a refund is initiated for the same amount.