Create a proposal
Creating a proposal is the first step in Governance Tool for EVM, which allows citizens to suggest changes or decisions for the network. This process ensures that ideas are presented and ready for community input. Follow the steps below to create a proposal:
Prerequisites
Before you begin, ensure you have the following:
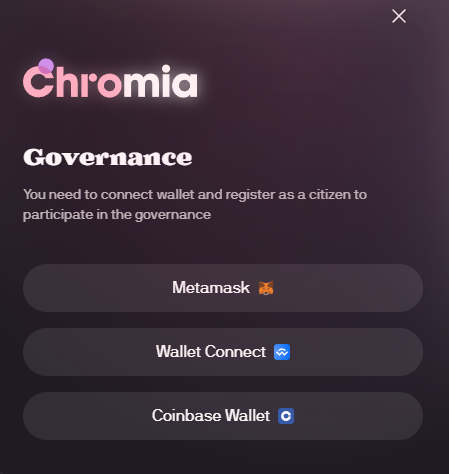
- Citizen registration: Ensure you are registered as a citizen within the Governance Tool system via an external authentication mechanism like MetaMask.
- MetaMask or compatible wallet: Install and configure MetaMask or use another supported Ethereum-compatible wallet.
- Sufficient privileges: Ensure your citizen account has the required permissions to create proposals. Contact an administrator if needed.
- Active citizen status: Ensure you are not under any cooldown period from recent actions.
- Familiarity with proposal guidelines: Review the proposal parameters (e.g., duration, voting requirements, categories) to ensure compliance when drafting your proposal.
Step 1: Log in as a citizen
Ensure you are registered as a citizen and logged in using your authenticated wallet (e.g., MetaMask). Only registered citizens with the required privileges can create proposals.
Step 2: Start the draft creation process
- Navigate to the Proposals section.
- Click Create proposal to begin drafting your proposal.
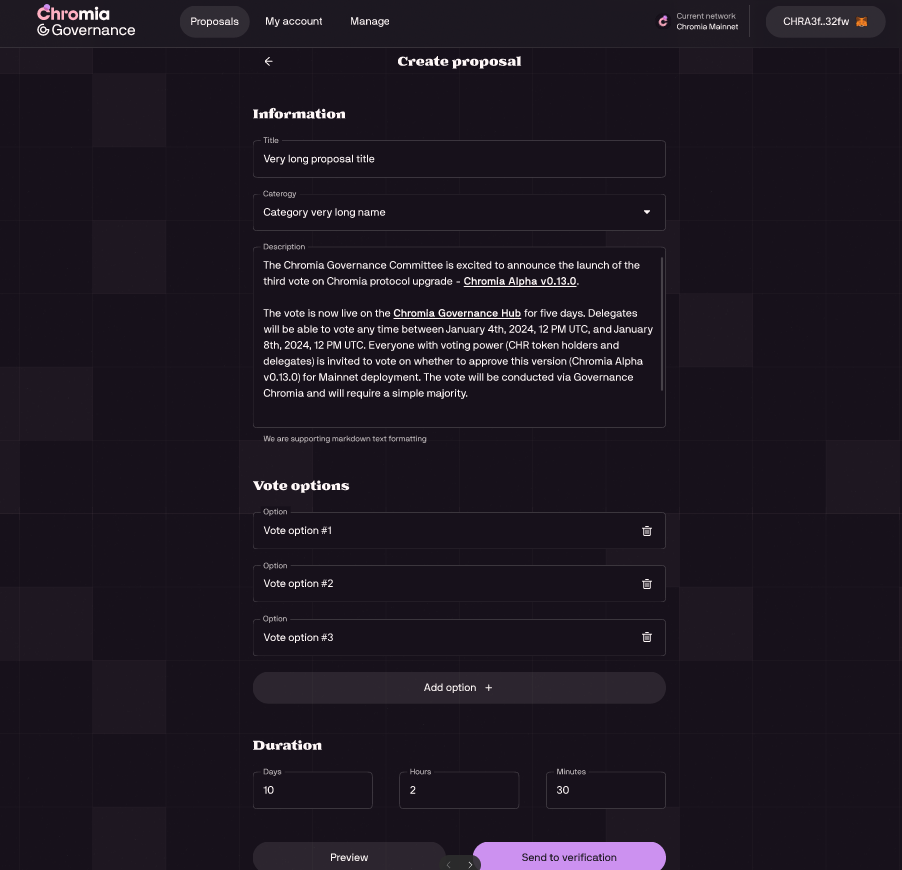
You will be prompted to fill in the following details:
- Title: Provide a concise and descriptive name for your proposal.
- Category: Select the category that best fits the type of decision your proposal addresses.
- Vote options: Enter the the available options for the community to vote on. You might specify "Approve," "Reject," or any other alternatives depending on the proposal's nature. These options will guide the community’s decision-making process.
- Duration: Specify how long the voting period should last.
Ensure all required fields are filled out accurately before proceeding.
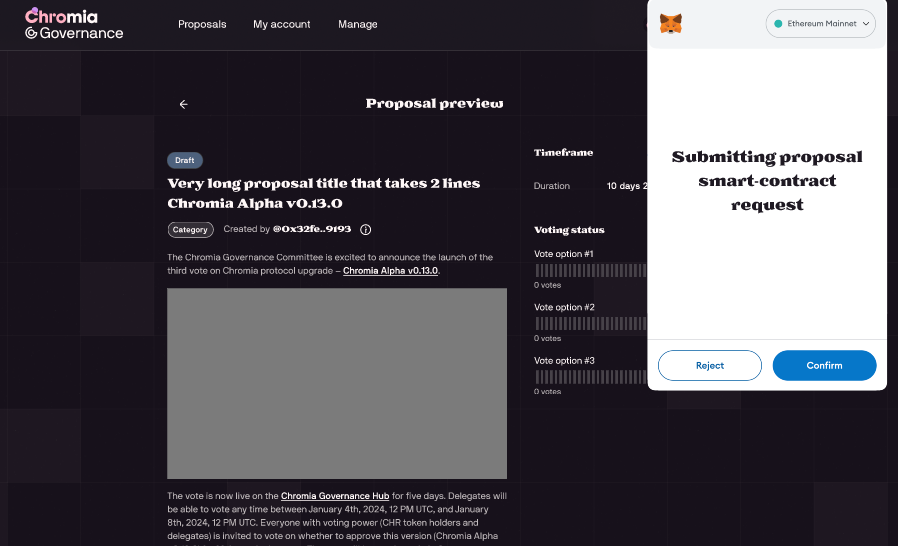
Step 3: Send to verification
-
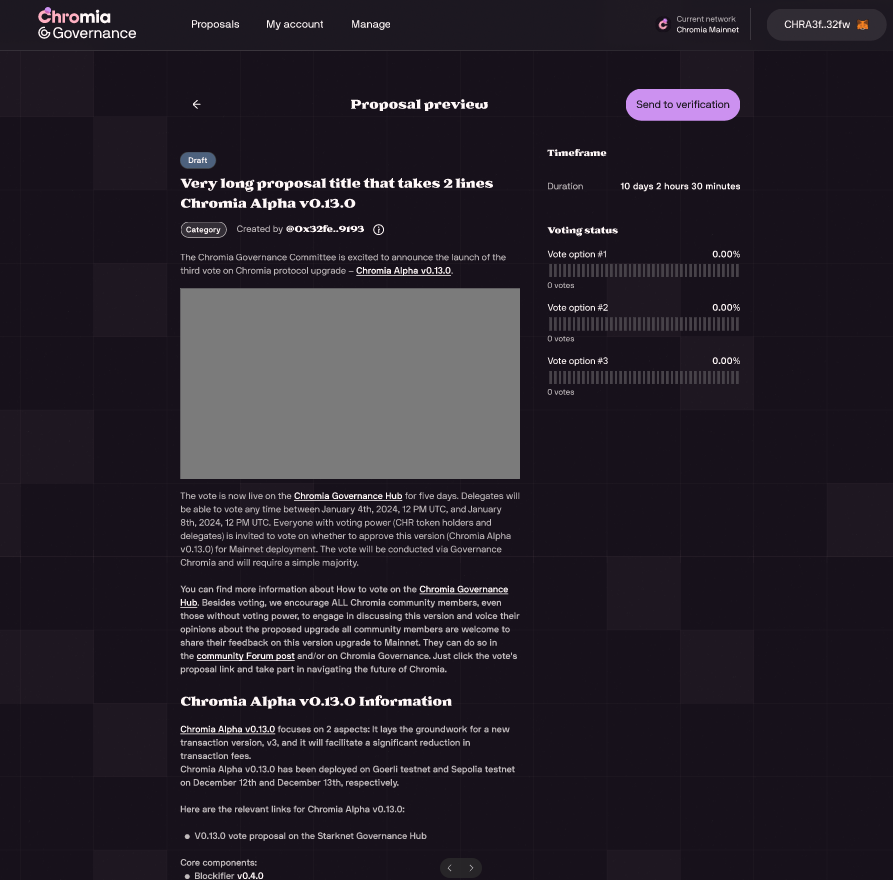
Click Preview to see your proposal.
-
Preview the details and click Send to verification to submit your proposal for verification.
-
The system will automatically check the following conditions:
-
Eligibility: Only citizens with appropriate privileges can create a draft.
-
Cooldown period: If you have recently performed specific actions (e.g., submitted another proposal), you may be subject to a cooldown period before creating a new draft.
If you meet all requirements, your draft will be submitted successfully.
If not, the system will display an error message indicating the issue.
-
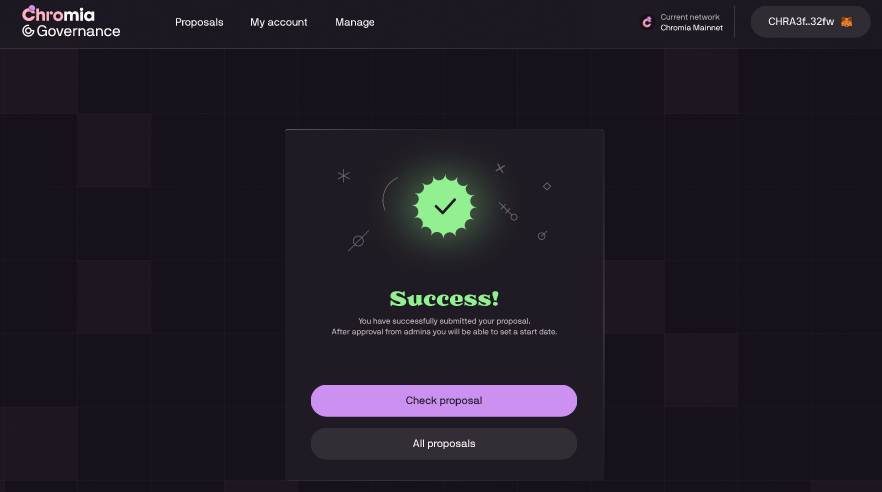
Step 4: Wait for verification
After submission, your draft enters the verification phase, where an administrator reviews it. During this phase:
-
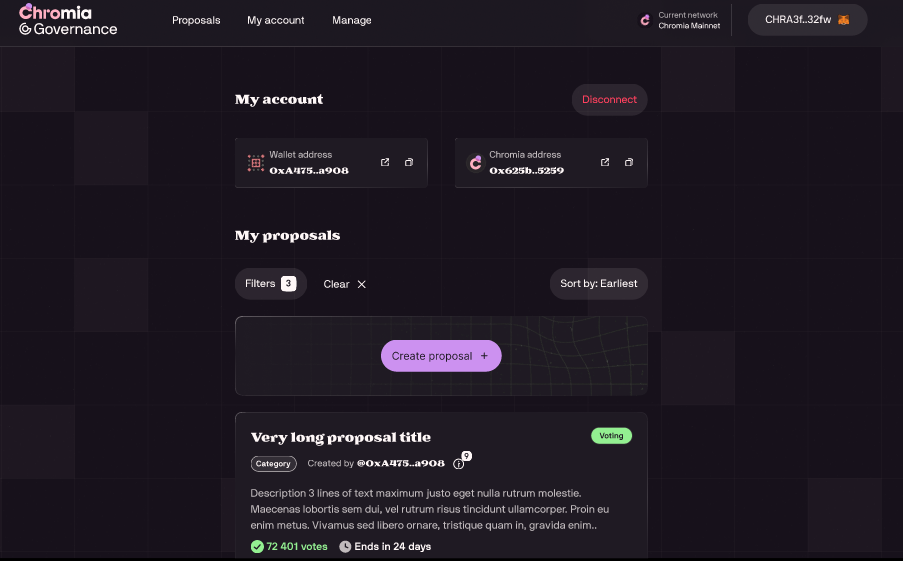
Track the status of your draft under the My proposals section.
-
The draft may be approved, rejected, or sent back for modifications.
Ensure your draft complies with governance guidelines to avoid delays in verification.
Step 5: Submit the proposal for voting
After the administrator has verified and approved your proposal, you can either submit it immediately for voting or schedule it for a later time.
Option 1: Submit for immediate voting
-
Once the proposal is approved, you can submit it immediately for voting.
-
Navigate to the My proposals section, where your proposal will appear with an Approved status.
-
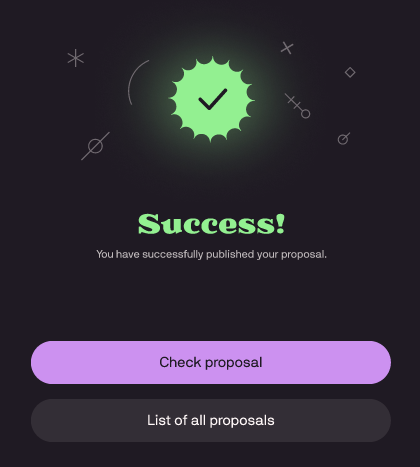
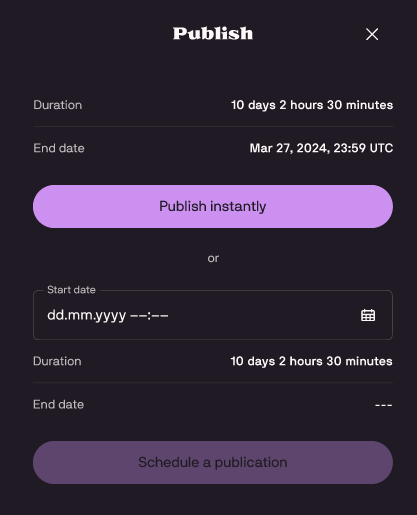
Click on the proposal, review it and Click Publish.
-
If everything is correct, click Publish instantly to make the proposal available for citizens to vote on.
-
The proposal will now be open for voting, and citizens can choose from the options provided.
Option 2: Schedule for future voting
-
Once the proposal has been approved, navigate to the My proposals section if you prefer to schedule it for voting at a later time.
-
Navigate to the scheduling section and choose a suitable voting period start date and time.
-
Click Schedule a publication to finalize your selection.
-
Your proposal will be scheduled, and the voting period will begin automatically at the chosen time.